Not a great start to 2018, I had put my right knee out whilst running cables for my solar system and in Jan it went again, after a lot of physio and rest with time off from work I finally got a fresh medical that would allow me to go back to work, and for the next couple of months I did very little, being concerned the knee would go again, and as time has gone on I’ve gotten a little braver in the things I do, however I am still wearing knee supports and pads when working, a word on knee pads there are some cheap and cheerful pads out there, but it is worth spending a little more for good ones that support the knee.
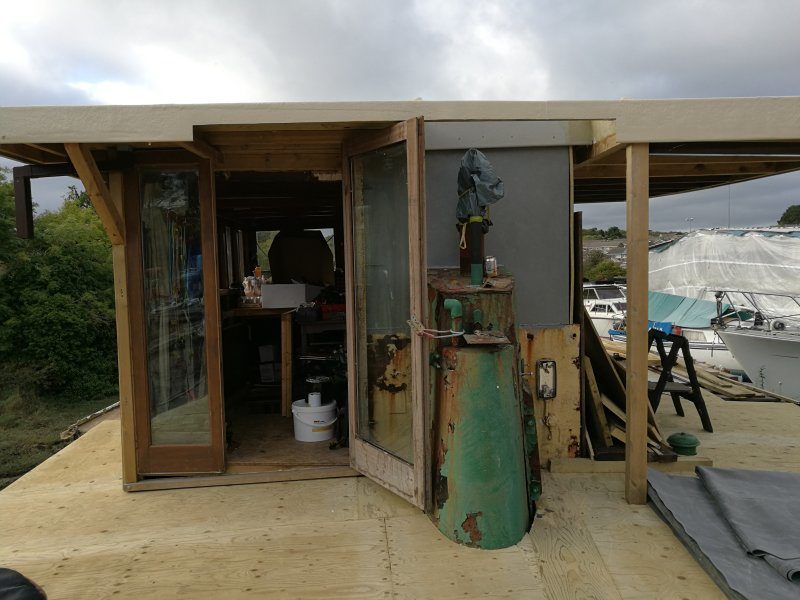
Any way summer is here and we need to get on with the wheel house, the first job was to get the after-glass door and frame in, this entailed cutting out the port side of the after bulk head which included two windows but before doing this we needed to get a new support in along the entire back bulkhead on the outside, this will connect to the new roof but also supp ort the entire aft bulkhead a 75mm x 100mm timber was used for this and all forth coming framework.
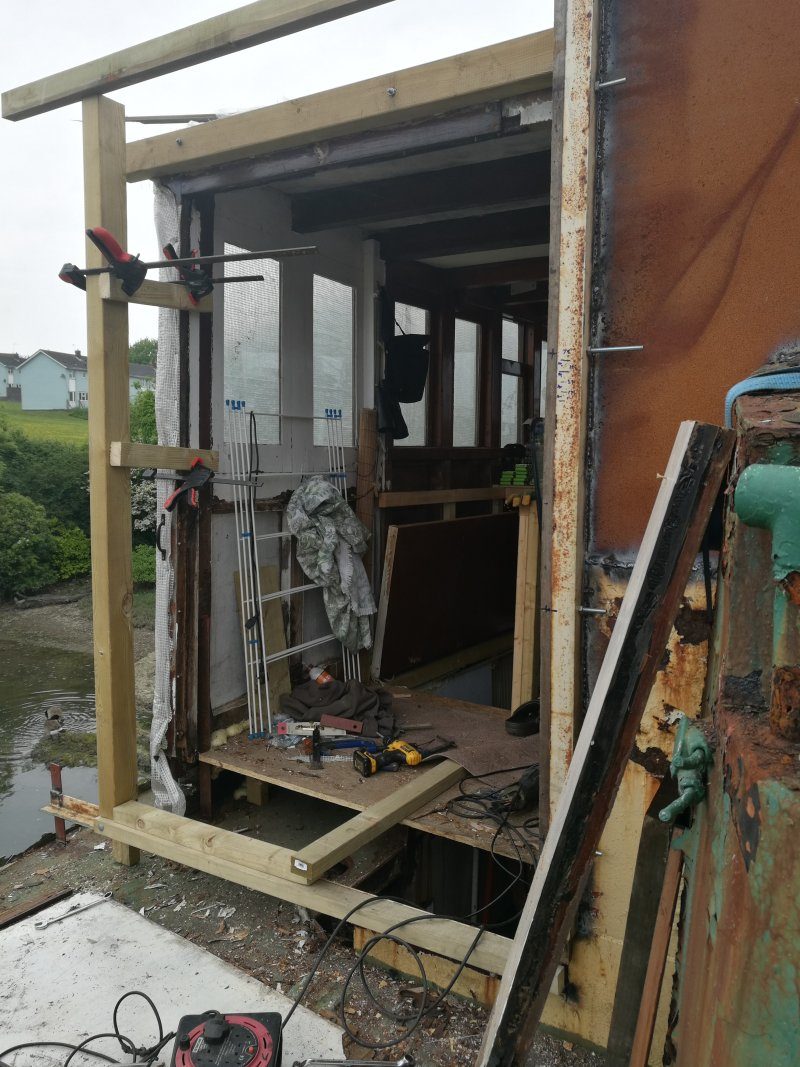
The port side was then cut out, we then made a steel frame to fit around where the door would go this was attached, to the back of the old wheel house steel work to give strength together with an extra piece of steel sheet to make up the space, as the old wheel house was not as high as the new one.
The door didn’t come with a frame so we made one from scratch, a single panel patio double glazed panel was used for part of this, one of the original patio doors I was going to fit in the lounge.
The door itself was deglazed (the door was extremely heavy) the timber part cleaned and cut to size then hung, it was then reglazed.
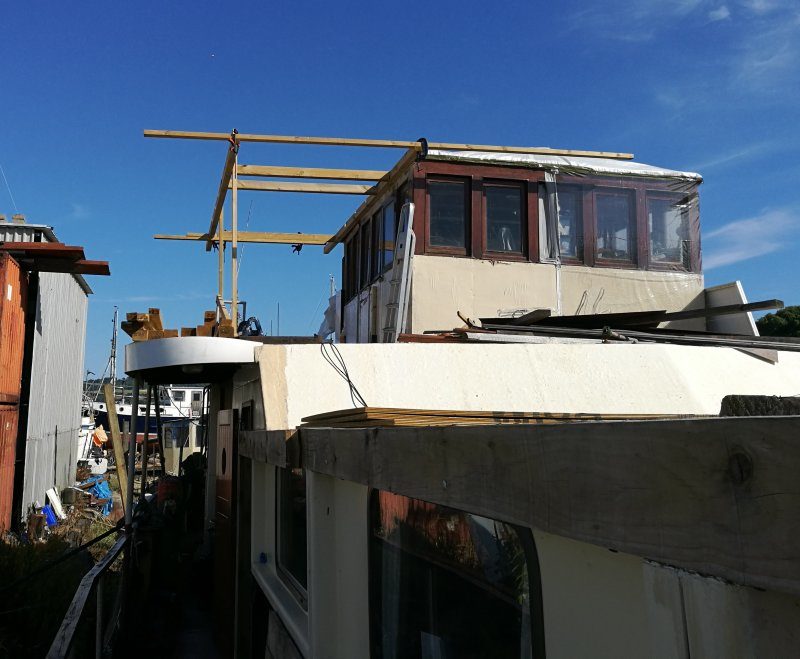
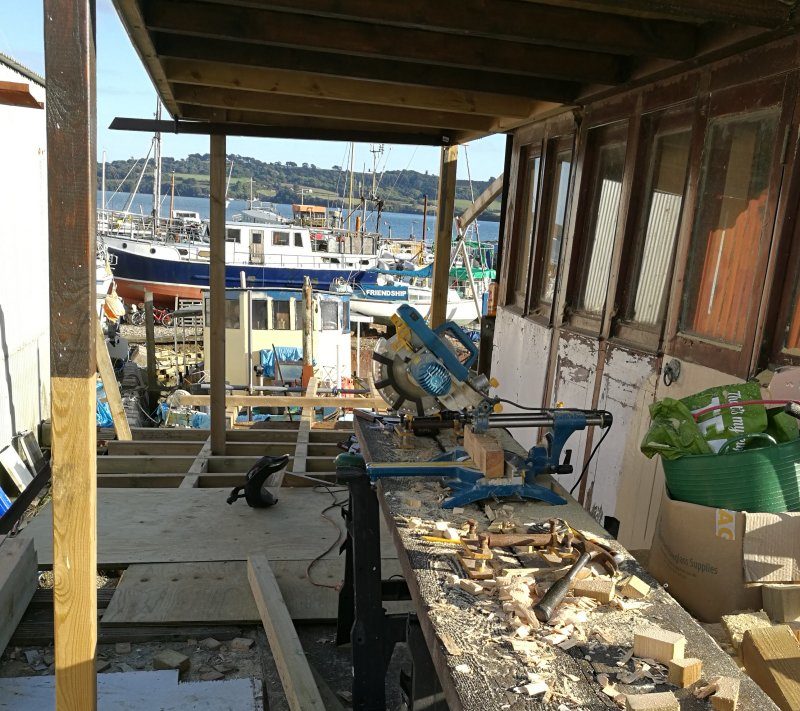
The next task was to start building the frame around the wheel house top which included the large over hang on the stb side, first we had to remove the old tarps and battens holding them from the wheel house edges.
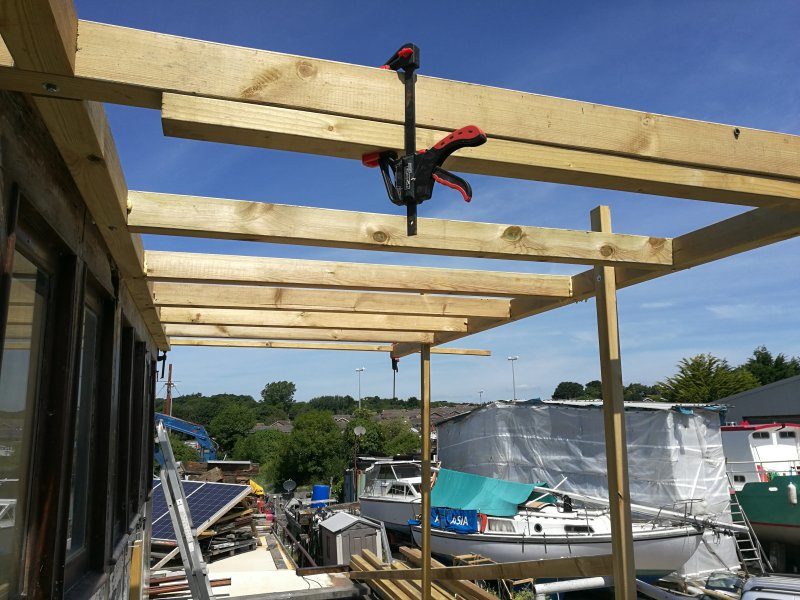
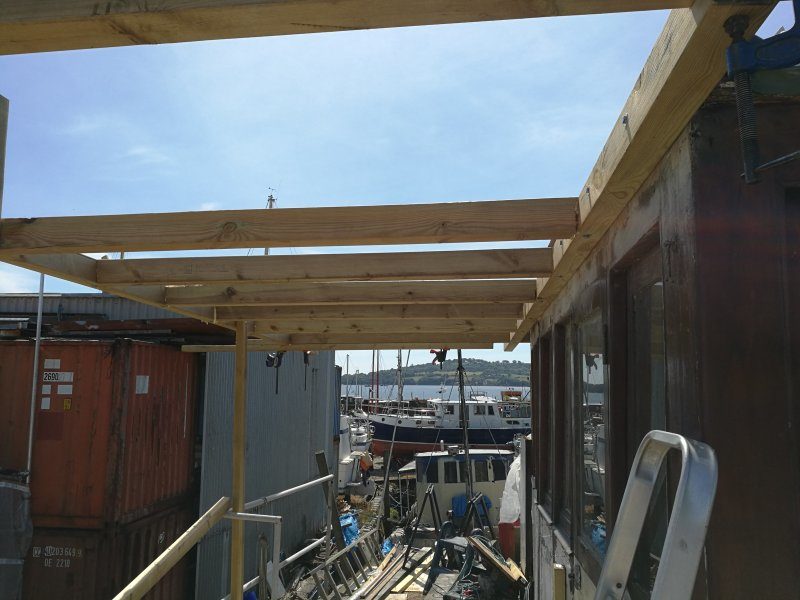
The top 6inches was ground back with a flapper pad, the new frame work will be made from 4” x 3” tanilised timber with 18mm tanilised wisa plywood, firstly the two side timbers were cut to size and notched to take the cross sections, these were then bolted through the wheel house sides, which gave me the grounding for the rest of the framework, the front cross piece was then fitted and so the frame continued in this manner .
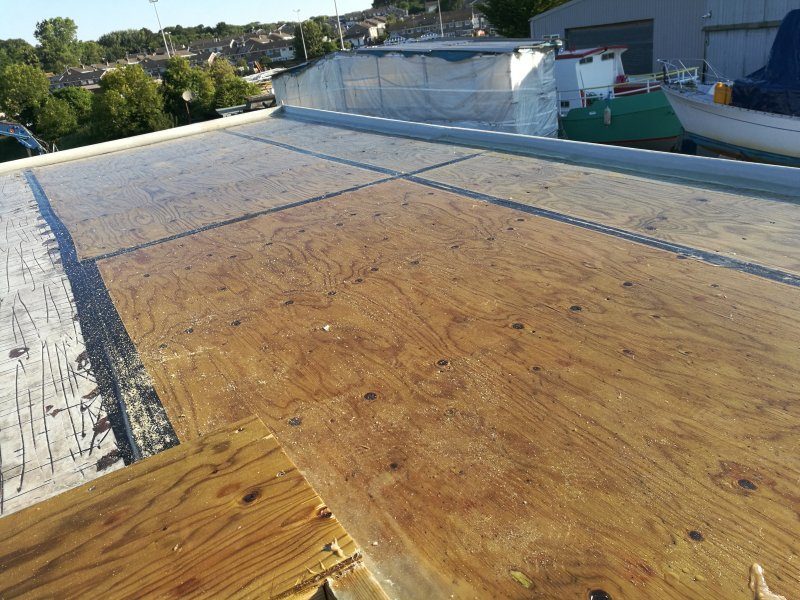
Once the frame work was complete we then got the plywood thrown up to the wheel house top where it was marked cut and fitted, the old part of the wheel house roof had to be scuffed up to get the fibreglass to stick.
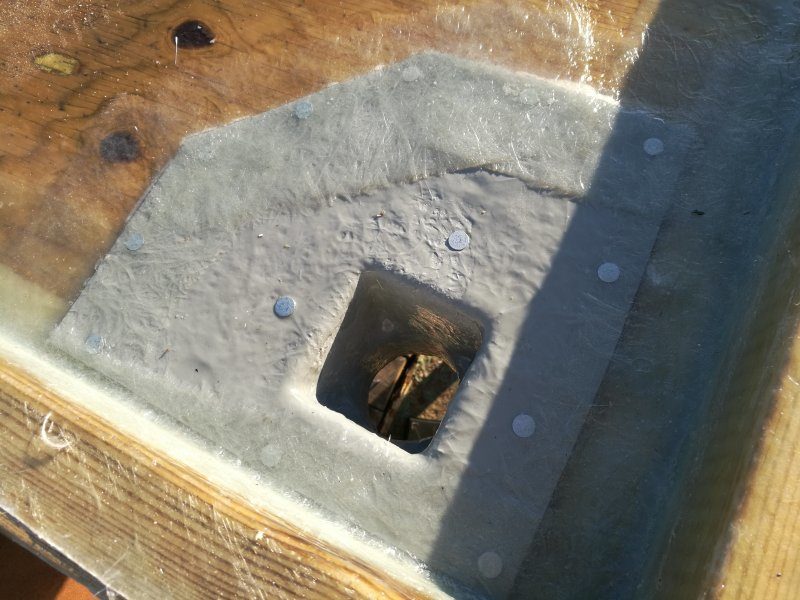
We then nailed a fibreglass edging trim around the outer edge and then all the joints were taped up and we fitted two fibre glass drain pipe fittings also 4 pads with bolts add were screwed to the wheel house top and fibre glassed in these are mounting point for the solar panel framework which I hope to get 2 kilowatts worth of panels up here in full sun with no shading.
The main problem now was the weather it was super-hot and too hot to attempt to do fibre glassing during the day and I needed to get a primer coat of resin on to seal the timer prior to laying up the glass
We got this done at 9pm on a hot night but cooler then day time, the wheel house top then got laid up over the next 2 days early in the morning after the dew had dried up, as by 10am it was to hot to continue and on the 3rd day we put the top coat on even with half the hardener it still went off to quick any way cream top coat was painted around the top edge, we quickly attached some temporary down pipes to divert the water away. It was time again to poodle off back to the work boat to earn some more dosh…and have a rest.
The next leave will be holiday time as we have the grand children down again for there hols so not much will happen on diction till September when two of my old crew mates will be coming back for a week’s RNR.
Well home again after doing 4 days extra time with only 3 days before I pick up my mates from the airport and train station, the plan this leave is to get the top deck/boat deck made and fitted my timber was due to arrive the following day, 18 sheets of plywood and 20 x 4.8mtr 4”x3” at least we could get the lorry close to the boat.
It was time to go and collect the boys, Andy from the airport and on the way back Steve from the rail station then it was on to the supermarket to collect some beer etc. Then on to the boat that night we went to a marine band concert at HMS Raleigh,
The next morning was a damp affair so we rigged up some tarps for Steve to start work on the Hiab crane he was going to clean off the old paint and give it a fresh coat of two pack paint, we also set a frame and rigged a tent like structure over the deck at the back of the wheel house we got this done just as the weather changed for the worst, so Andy and I sorted and started splitting logs that was until the seal went on the petrol power pack chucking hydraulic oil everywhere, but Andy carried on splitting by hand ..he’s lethal with a big hammer and or a large axe, this was a job and knock job and with wood stacked and stowed we got the beers out as you would.
Friday was hit and miss but the weather was against us so we just had some Cornish pasties and more beer.
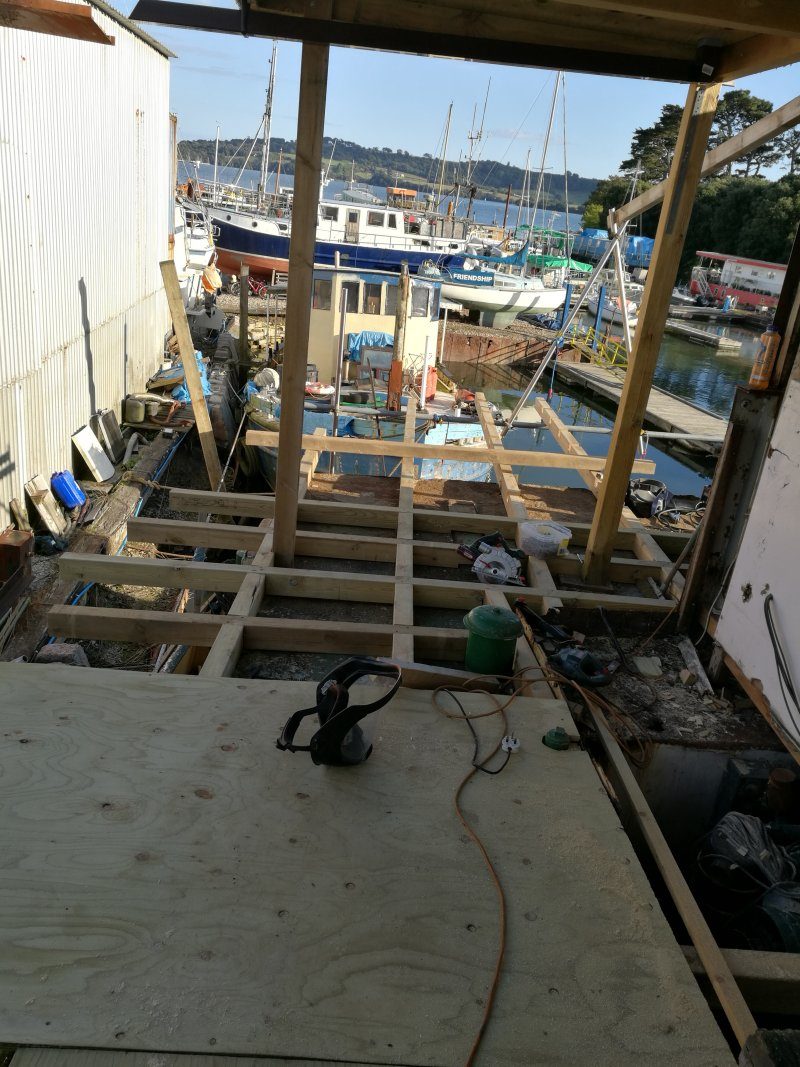
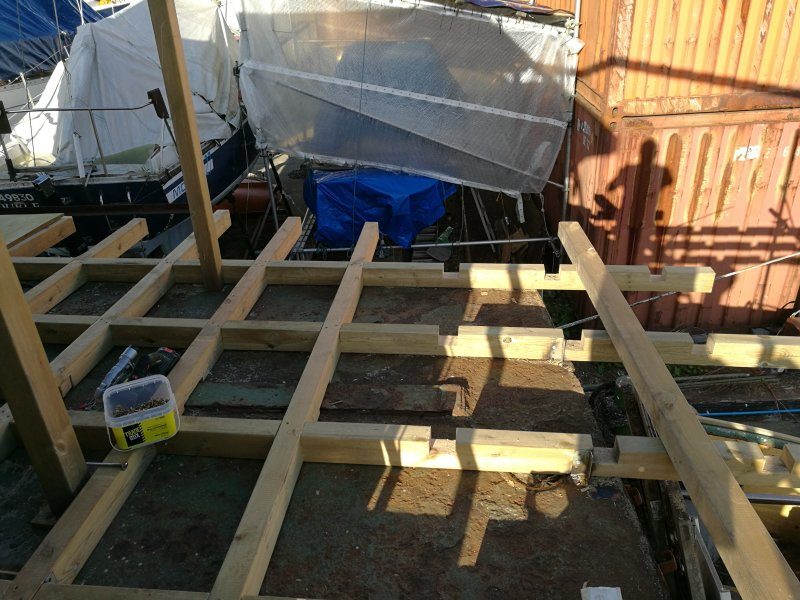
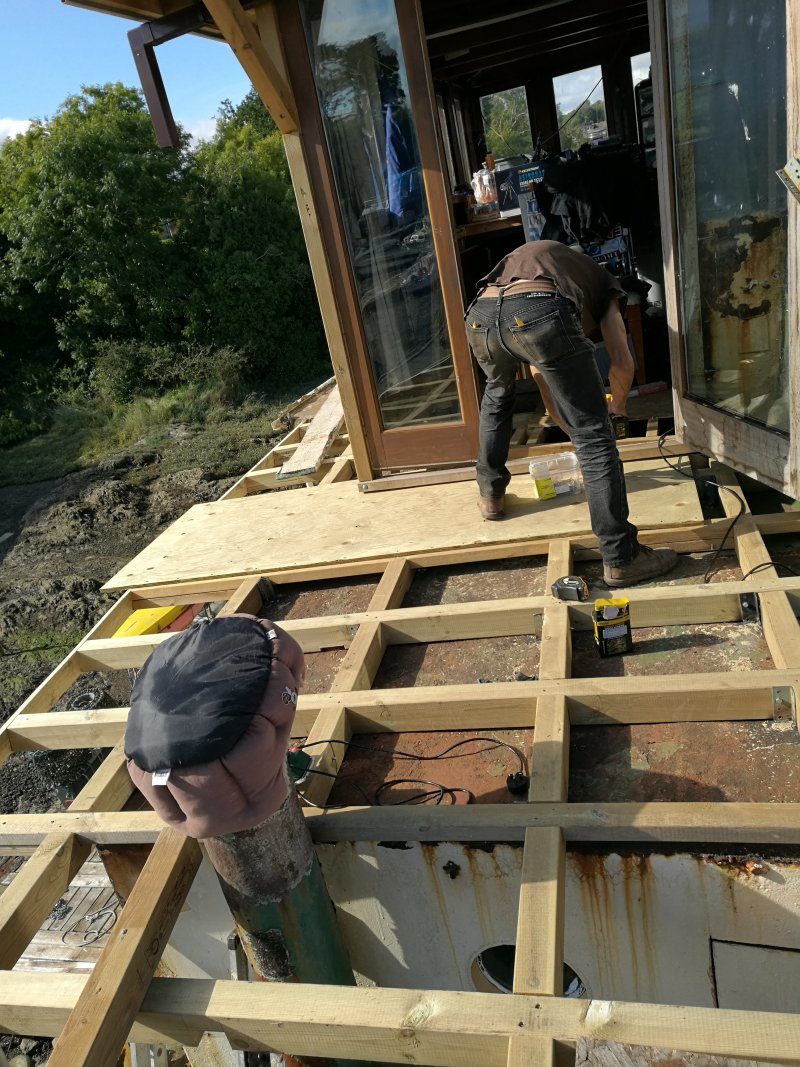
Sat the weather started to improve so whilst Steve cracked on with the Hiab Andy and I set to on the deck framing, as you can see we notched every joint the intent was make a stable platform as it would be over hanging the lower deck.
Timbers were run along the line of the accommodation and space 2 ft apart but the cross sections were spaced at 18 inches due to the overhang I didn’t want any flex in the ply when it was laid so it needed a strong base these frames are made from 3in x 4in tanilised timber, the day was I bit slow whilst we got head around everything like joint sizes, setting up the cross saw ect, we had put 2 2mmx100mmx4.8mtr in the river to soak these were tired on to stop them floating away, this was done to be able to bend the timber around the outer edge of new deck.
These were the retrieved and clamped around the top of the gunnel to dry, left to dry in this way would mean that once dry and clamps removed the timber be bent somewhere near the shape we required. Normally one would make a steam box but I didn’t want to make a 4.8 meter long box anyway this worked a treat and made pulling the timber
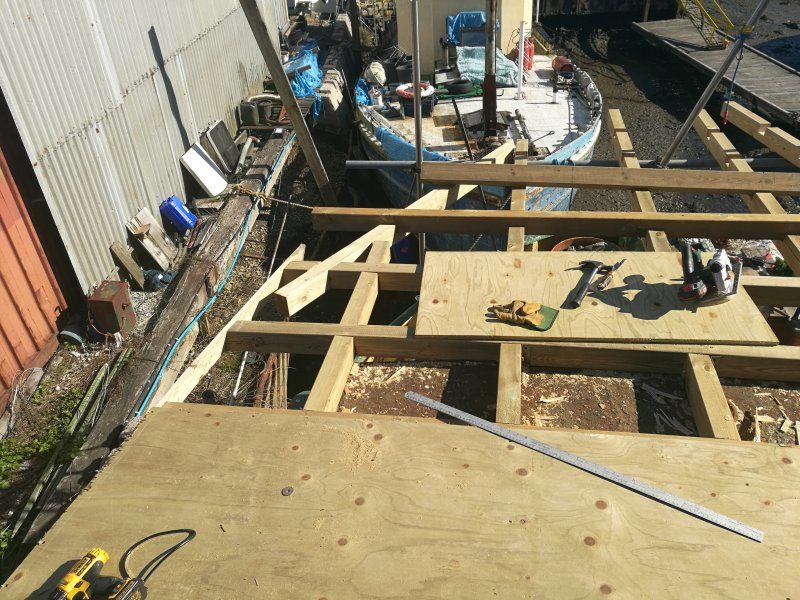
around the curve quiet easy, we carried on making frames and getting a couple on boards down till Tues afternoon where we packed up so the guys could sort there gear out ready to leave in the morning, then it was off out for a meal, whilst the guys where here both had done an evening meal, which impressed the wife.

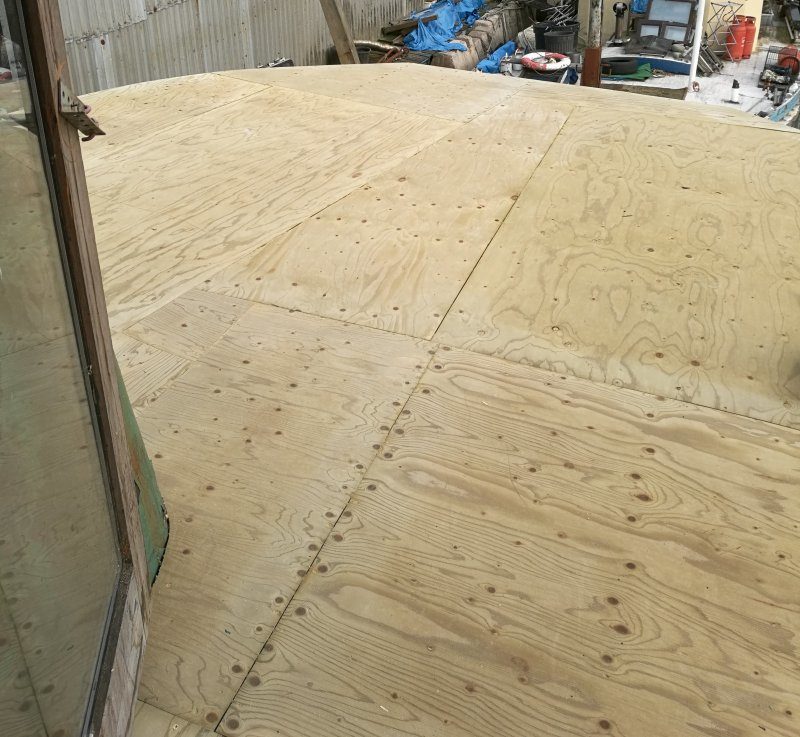
The next day with the guys away back to their ship I had arranged for another mate to come and give me a hand as I needed to get this job completed before going back to sea myself and as you can see things and weather went well including welding in some 30 odd angle brackets Steve had cut for me , once these were welded coach bolts were used to secure the timber frame to the steel deck after lots of cutting and a 500+ screws we got the boards fitted, we finished at 4.30 Tues afternoon just time enough to take wife shopping.
Tim at work, Tim is salvage expert and runs his own web site.
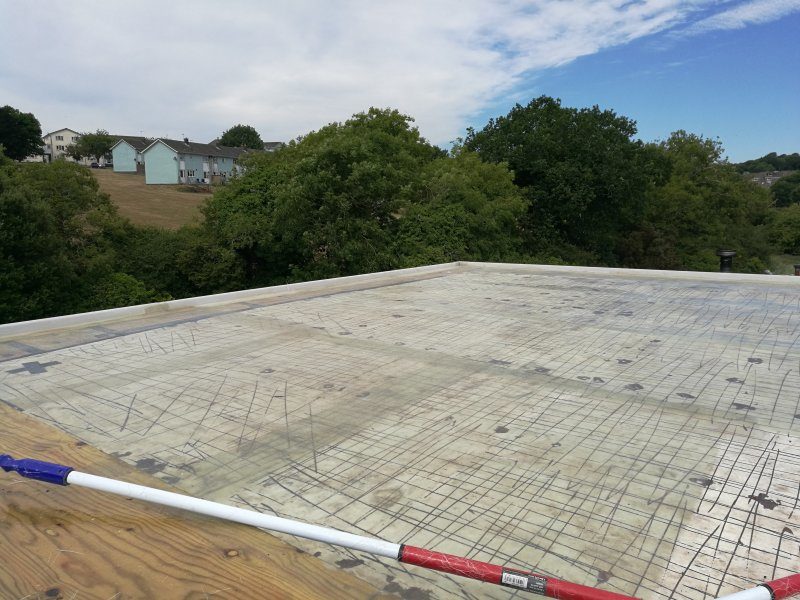
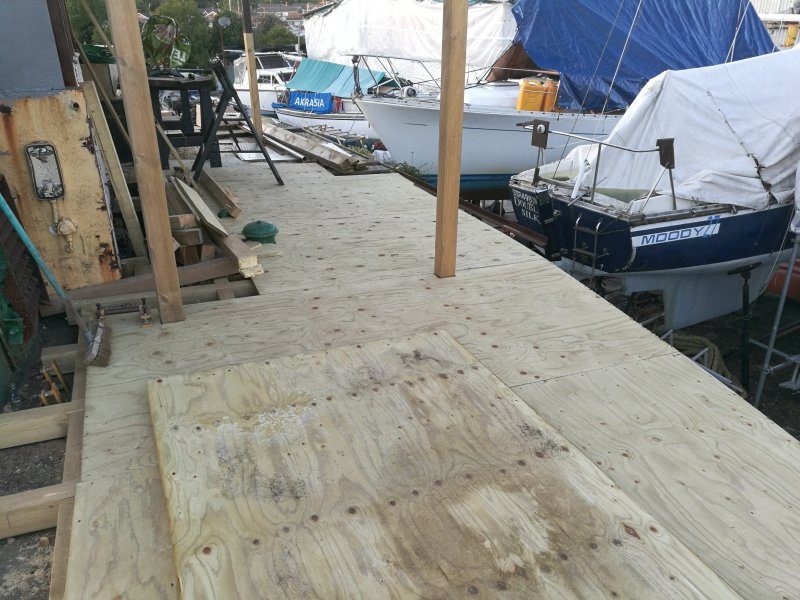
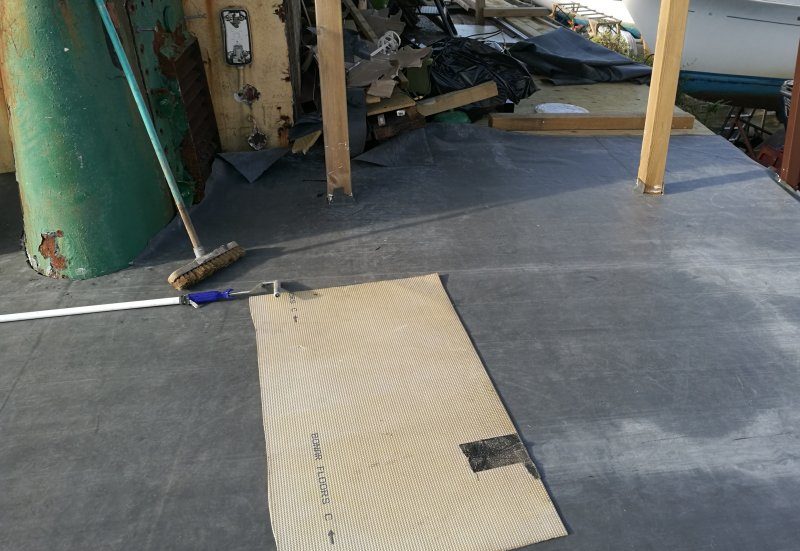
Note the epdm to the right this is to stuck to the plywood next time home.
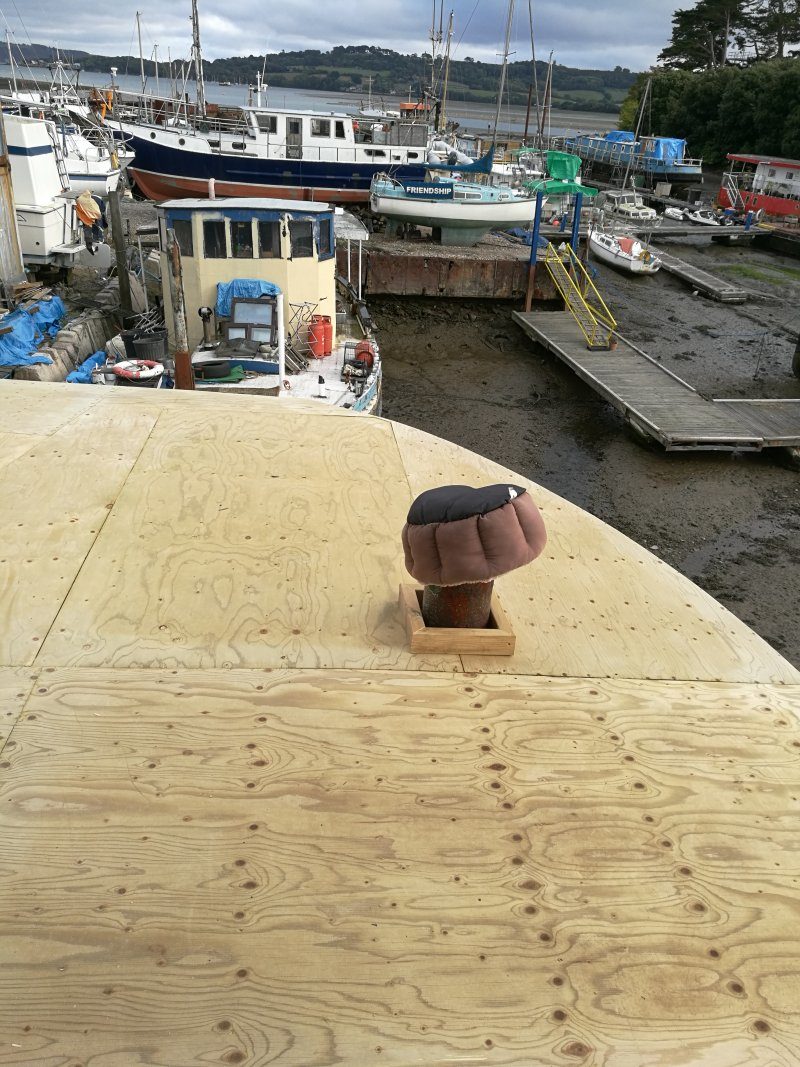
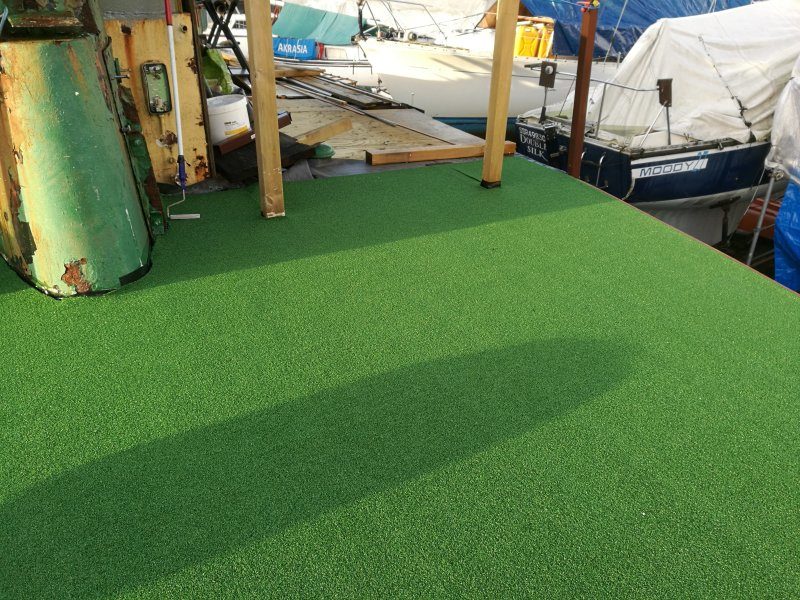
Notice the cracking views, we see most of the ship movements in the main river from here.
Time to go earn some more dosh…..
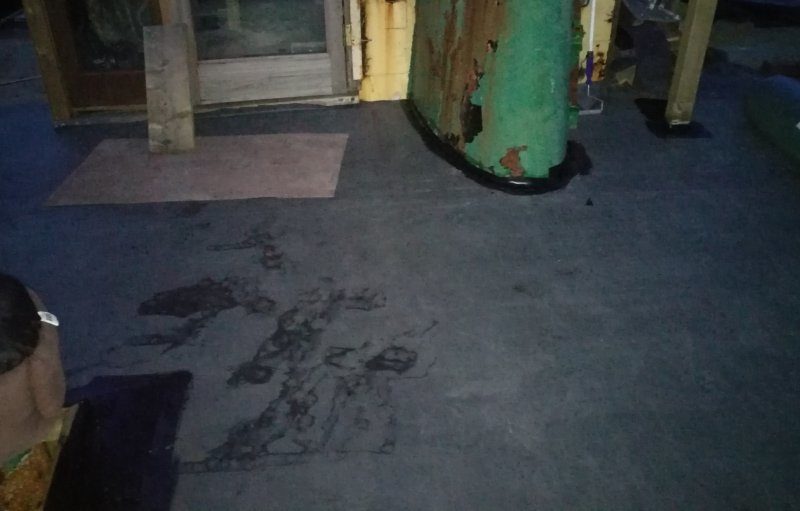
Home again and the weather has been dry for awhile and all the new wood deck is dry, however the weather is on the cool side with night temps dropping below 5 degs which is to cold to glue the epdm to the deck, and the forecast is for the weather warm up but with the rain coming in as well.
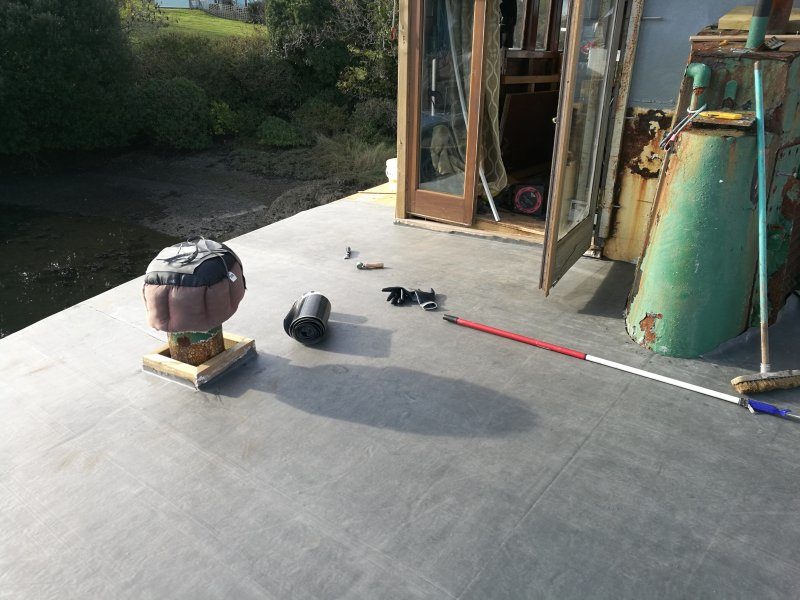
So, we set about laying out the epdm and cut it to shape, the epdm was then strapped down, this will allow the epdm to relax in position and allow creases to level out and also keep the timber dry for when we get warmer weather.
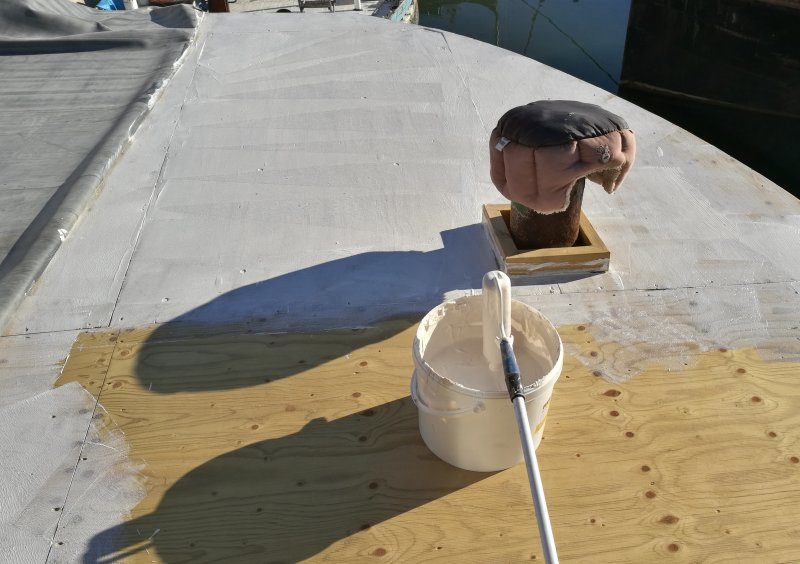
The weather turned to wet and windy for a week, finally the weather broke and the forecast was for warmer nights for the next few days we needed 48 hrs for the glue to cue, the task of gluing the epdm to the timber deck was simple enough, half of the epdm was rolled back the glue was then machine mixed with a plaster paddle for a good 5 to 10 min then a 10 inch roller was used to apply to the bare wood deck, the epdm was them rolled back over the glue, then brushed with a broom to remove the worst of the trapped air, then a wide, ribbed fibre glassing roller was used to get any final air out and smooth out the epdm, then the other side was rolled back and we repeated the above.
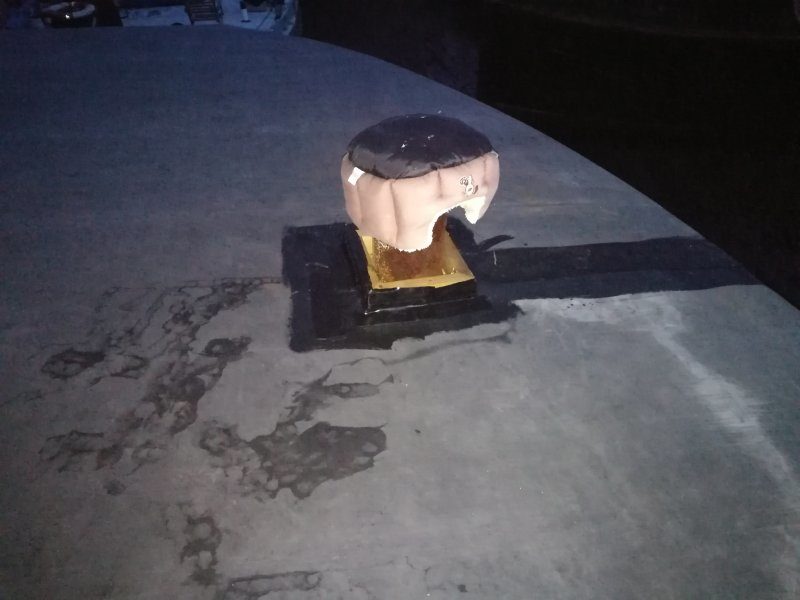
The difficult part was about to begin gluing the joints and around uprights ect, you tub videos make this look so simple, a straight flat joint is fine no real problems here but going around vents and posts ect was another story you use a special tape and a primer, the primer is basically a thinned down contact adhesive but you only get one chance to get it right, as it instantly sticks, I found it better to work in fairly small pieces.
However, the end result was great, the sheet was laid in a one piece (42 square meters) we then set about trimming the waste from underneath the deck and then nail up to the bottom of the flash board.
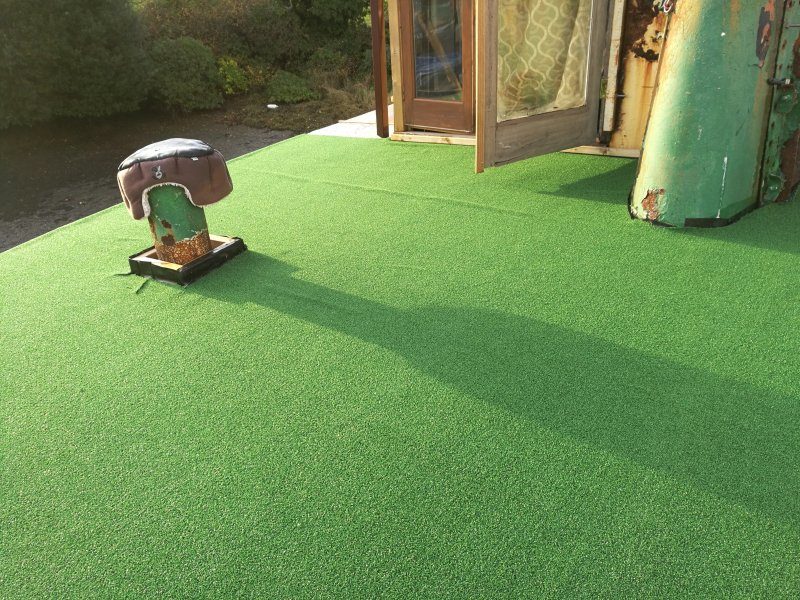
Epdm has some very good qualities as a water proofing membrane it will take light foot traffic can be slabbed, decked, planted on, gravelled or even painted we however have decided to use fake grass not only will this look better but will take all the wear and tear. The grass we went for was a very short pile.
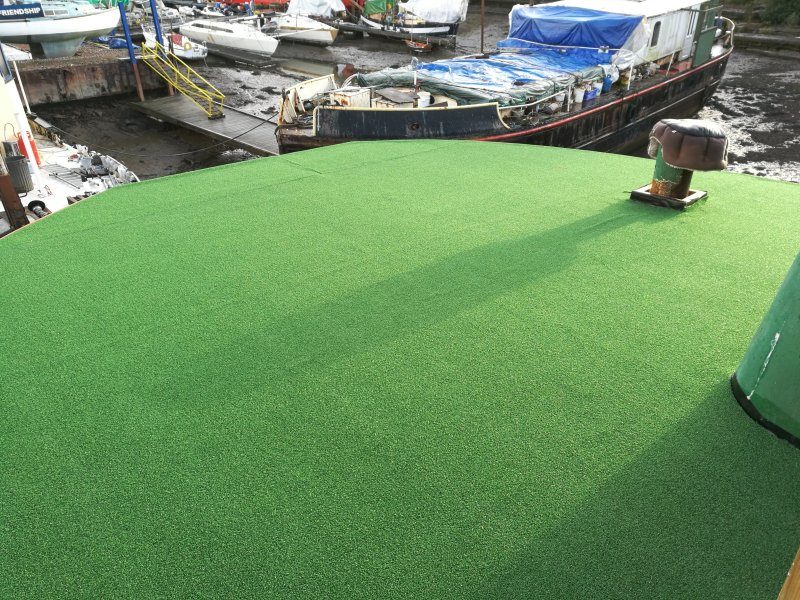
Again we laid the grass in one piece mainly so we would only need to secure around the outer edge
We just got this done when the weather changed again so it was back into the workshop and carry on with other projects
Another new addition was the new chimmery cowl we added…works very well.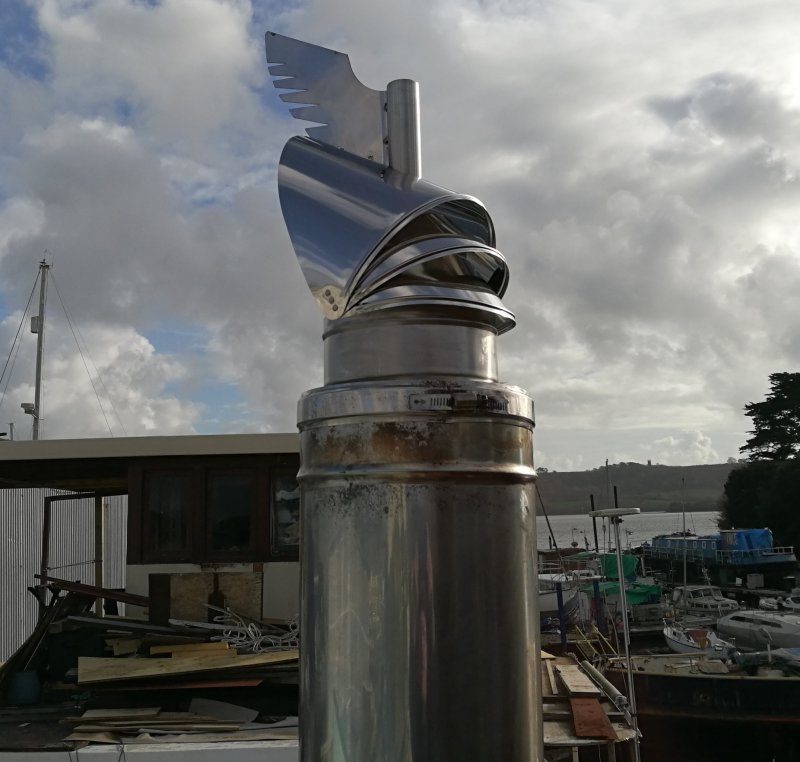
Till next time.