After a great family christmas on the this mighty vessel.

Well it time to get on with with the job in hand, at the end of last year we started fitting the new toilet and shower down below we had already built the one deviding wall and clad the 3 remaining with moisture resistan mdf board and the ply floor was laid, and that was as far as we got. for the shower unit we will be using the one we had prevously in stalled in what is now the office, the small sink and toilet are from the same, all just need refitting and replumbed, starting with the shower the base would need raising off the floor by about 4 ” to allow water to drain into the macerator pump, so we used the shower base to make a template to make the raising piece this would not be that easy as it had a curved front, however we made this out of 4″ x 2″ timber, some plywood, the curved front was made to step back a little to allow the front to have a matching trim made from the shower wall board we had brought before xmass.
we then cut the shower boards to suit and attached the corner trim then the walls where coated with addisive the corner trim was siliconed and each board fitted in turn by sliding one edge of the board into the corner trim then presseng the board onto the addisve, we then wedged the board with battens till the addisve dried, with a few scews added above the deckhead line, just to make sure they don’t come off, then the base frame was fitted, a new waste system was plumbed to the base which was then sat on the raised frame, it must be noted we had left access holes in the base frame for the shower waste and sink waste and water supply.
With the base in and secure it was time to fit the shower cubicle it was a b&q special where you screw two channels sections to the wall then construct the shower frame and glass then proceed to shoe horn it into place, this all went smoothly enough, apart from the loss of some small stainless steel screws that hold the side glass in place, however not a real problem as i have hundreds of screws of all shapes, sizes and material, so found a few to do the job.
Before going further thought we had better get the deckhead/ceiling and frame work in, again we used the white plastic t&g we have used in all below deck rooms, we also added the power cables and switches for lights exhaust fan ect.
With the deckhead and lights done we marked the position of the throne and cut a hole through to plumbing space /store cupboard we then removed the throne and proceeded to clad the bottom half of the rest of the bulkheads/walls, the wife wants to wall paper the top half and paint the cladding, eventually this was all done, we fitted the throne and cistern and connected the pipework, the small sink was the fitted and plumbed in, then a mirror and a very nice glass shelf, we than fitted an electric towel rail that was a heater as well, back to the shower unit we put a new riser in, but used an old shower mixer tap as i find them much better then the modern ceramic ones which don’t seem to last, then we hung the shower doors and adjusted them accordingly, with plumbing in the shower room complete it was time to fit the new macerator in the plumbing space, this unit gave lots of problem but we couldn’t send it back as we had had it for a couple of years, so we have replaced it with a better one, we also found that we didn’t have enought drop on the shower water to activate the macerator so it will need a seperate pump, abit of a pain but one of lifes toils, we had some nice wood grain lino for the floor, just need to make or find a vanity unit to go under the sink to complete.
March
With the weather being reasonable and i needed to get on, but what i wanted to do i couldn’t do, due to a stack of 6″x1″ timber, so instead of just keep moving it arround i decided to get on with the job they where ordered for, namely boxing in the coaming sides, however like every thing it was not that simple as we had decided to make two flower planters for her in doors and also to storeage units for things mooring ropes,
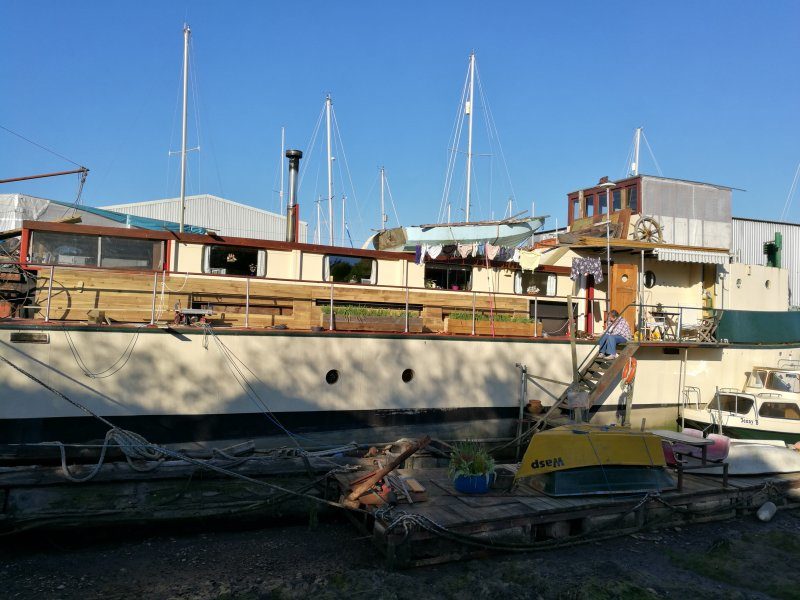
paddles and the like, so one days work turned into 4 or 5, we started by bolting 3 ft pieces of timber to the coaming support’s the two that are going to be planters will need boxing completely i had some old 1″ external plywood that would do for the back of the planters the rest of the planter was made from 6″ x1″ timbers, the storage compartment were a very simple idea where basicly you plank across the whole thing and simply cut out the door part then fit a piece timber at each end, then drop the door back into the whole it came from, add a couple of hand made oak turn buckles to hold it shut from the top, so you can lift the door in/out at will, also by boxing in the coamings it will act as further insulation, there is a small section fwd and one aft that would be different the fwd one will be done later as i will be redoing the whole deck area in front of the patio deck later on, the after one houses a water tap and hose pipe & fire extinguisher.
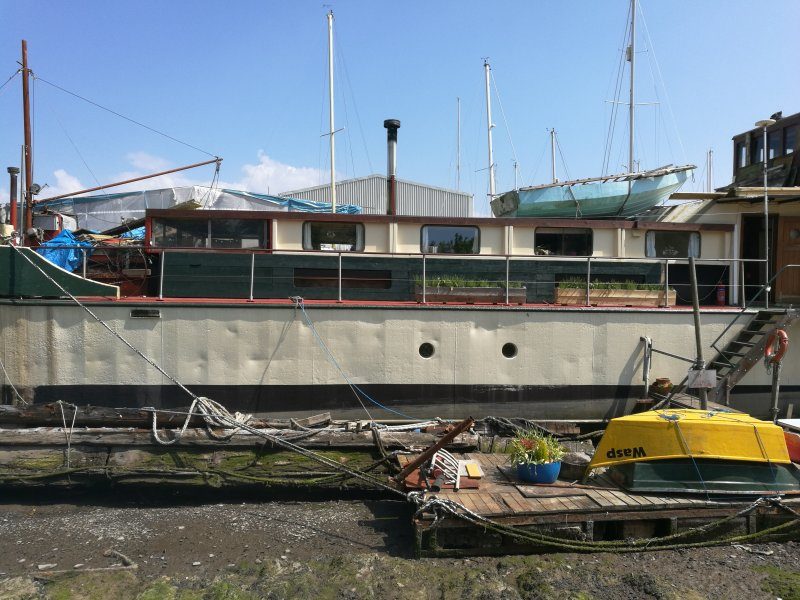
Once this was done it was all lighty sanded and given two coats of green paint that will match the colour we used on the fwd and aft bulwalks (outside), we finnished this just as the weater changed, a few days later we went to plant nursary a few tray of geriums red of course this was all done on the port side, starboard to be done later.
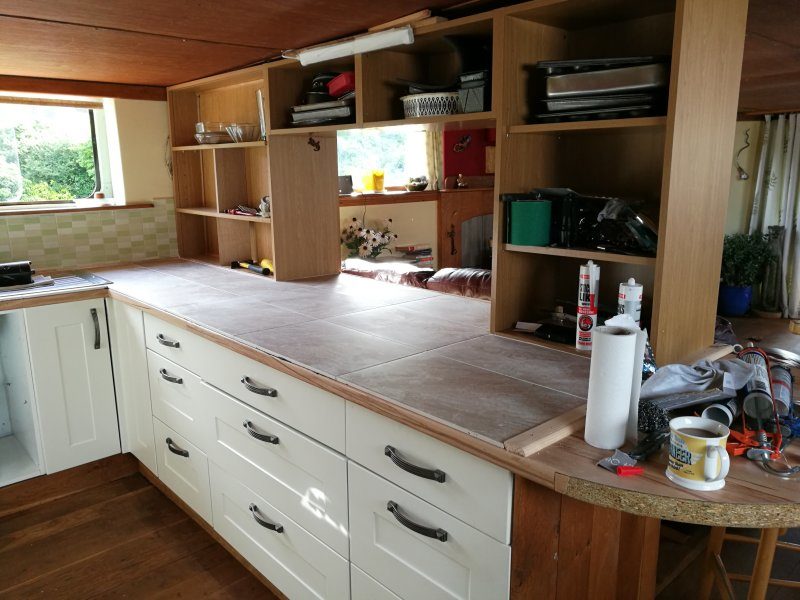
We are now into May and we have decided to modifi the galley by adding cupboards to the very large counter and remodling the work tops, i had planed to rip the old work tops out and fit a plywood base then tile on top, but after some research and deliberation i decided to glue the tiles directly to the exsisting work top, all that was needed was to roughen up the surface for the addesive to get hold of, so we set about installing the cupboards the two end units would be screwed direct to the old work surface, with two 600mm wall units bridged between them (just so the strife can watch tv whilst cooking dinner)
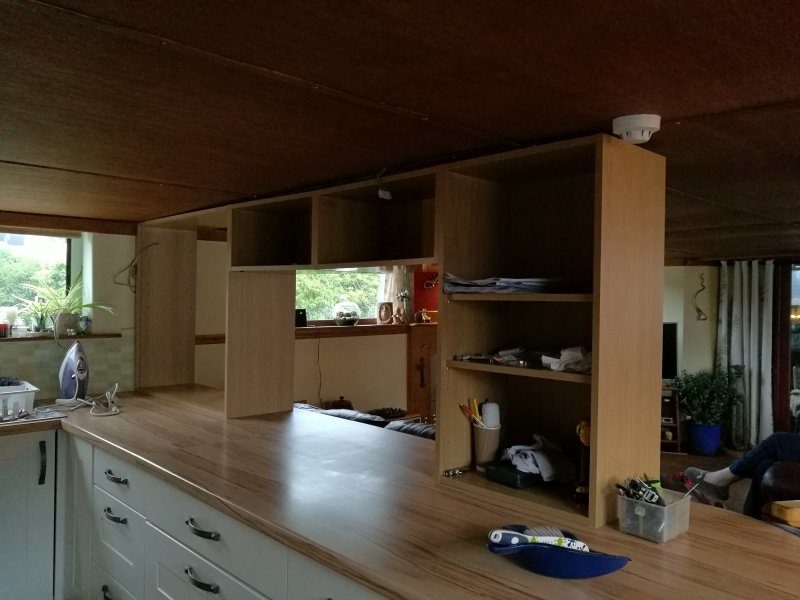
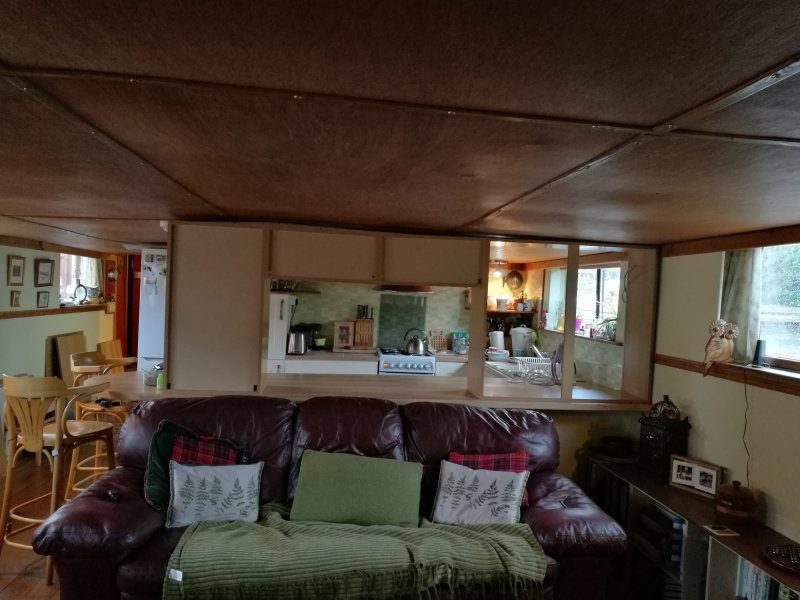
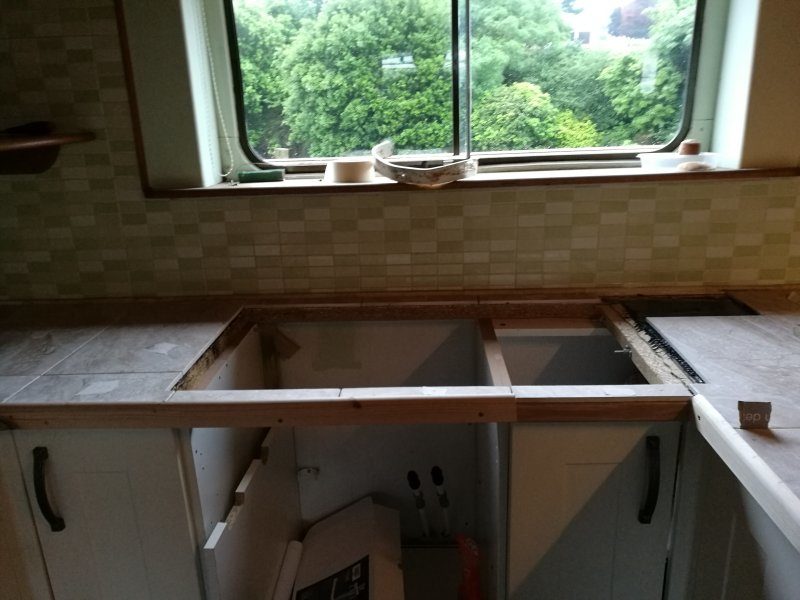
thesei bolted to geather just to make sure they stayed put if the boat evey goes out to sea (one day hopefully), the left hand unit which is counter to ceiling fit needed to be devided into two but devided by depth so we can have shelves in the galley side and the lounge side would have glass doors and sheveled for the wifes collectables, withe the units in place we removed the sink and cooker and existing trims.
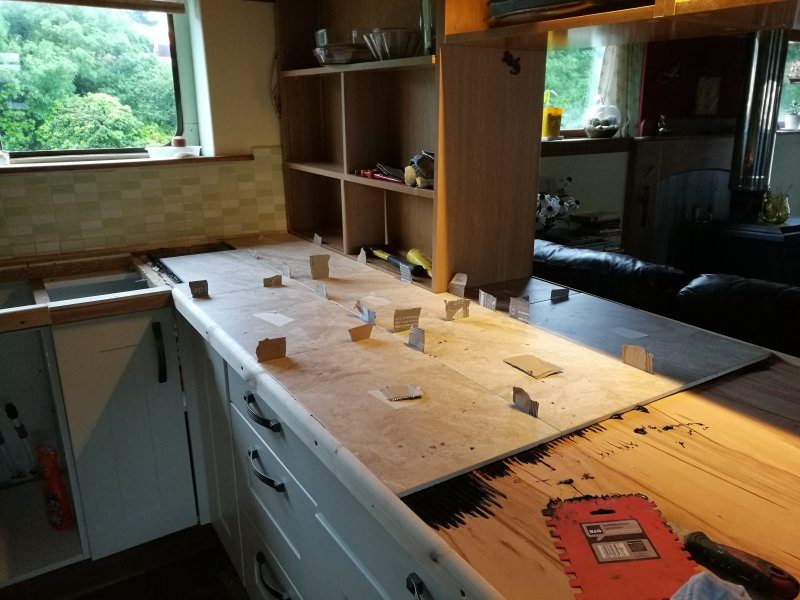
This done i then roughened the entire work surface area and cleaned it with alcohol to remove and grease and other contaminates, the stone effect tiles and D shaped edging was laid out and cut accordingly and numbered for there positions i fitted temporary battens on the leading edges to get a straight run, it was now the mess starts, the addisve was spread out and combed and tiles laid this all went rather well, the job was then left to cure for a couple of hours.
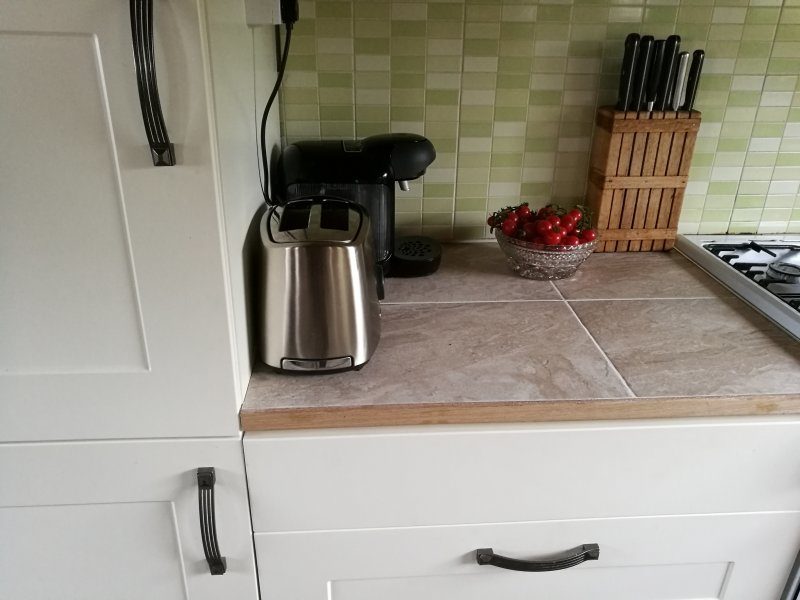
once set the tiles where grouted, the temporary edging was replace with oak trim that had been sanded and oiled the aliminuim cooker trims had to be trimmed and polished up then refitted and the the replaced.
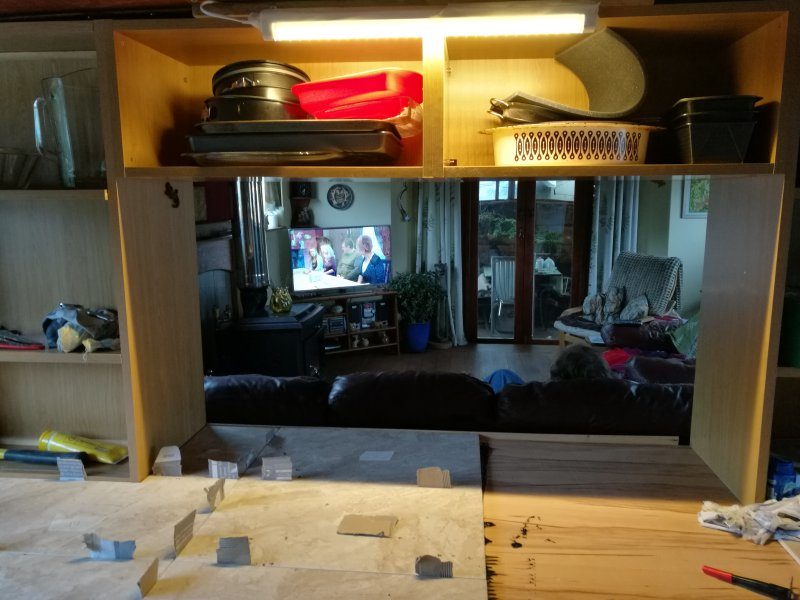
now it was the turn of the sink this was polished up and looks like new again, it was then glued back into place and weighted down over nite for the glue to cure, the next morning the sink was re plumbed in, during this time i had also made a new breafast bar to go on the end of the orginal work top this was glued and screwed and looks cool.to finnish the look a trim was fitted along the top of the units and a pair of crome effect led spots.
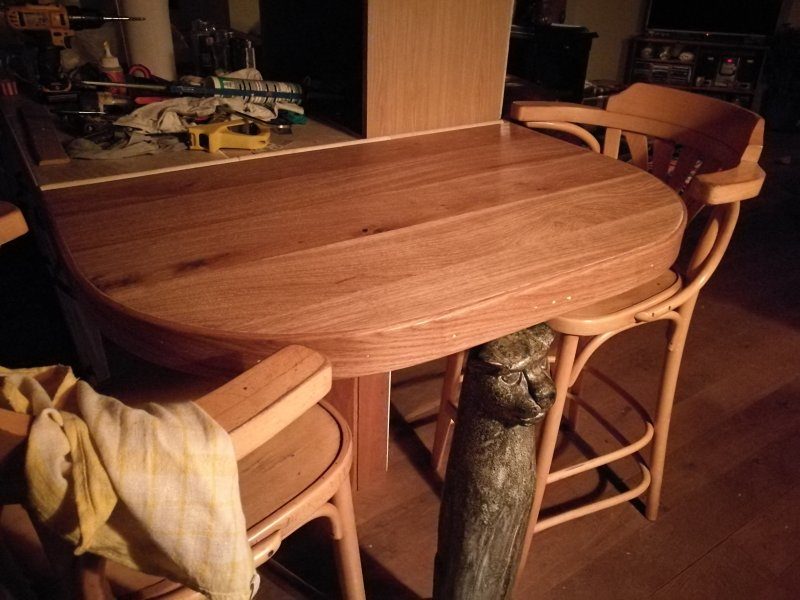
The glass doors where fitted along with some nice handles, the back of the other cupboards on the lounge side were paneled in plywood and painted then oak trim was fitted arround the edges to finnish the job off.
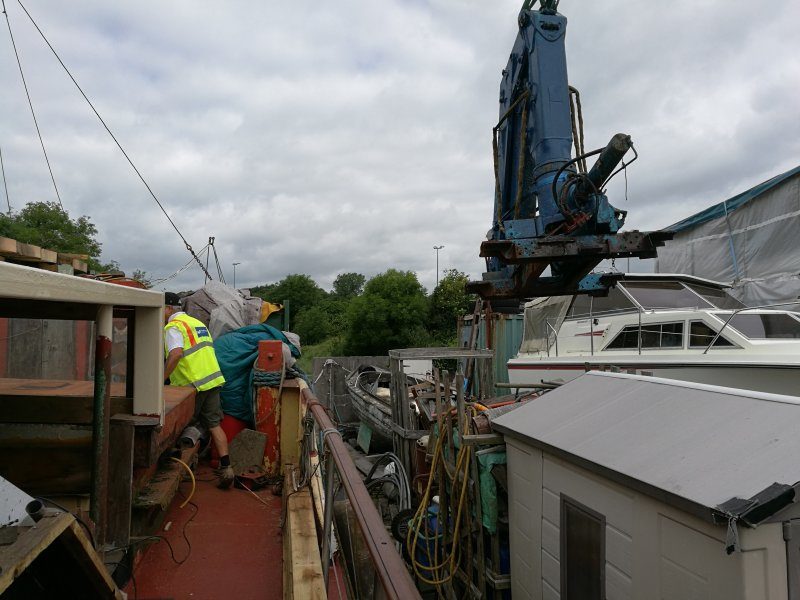
August, during the winter i had purchased an old hiab crane from a boat yard mate he had taken it off his work boat, it was in a sorry state and still neeeds painting, anyway i wanted this to enable me to get engines and the like in and out of my work shop, the area it was going to be fitted to was quite substancial the area was cleared of junk and marked out ready for grinding the paint off ready for welding the crane down,
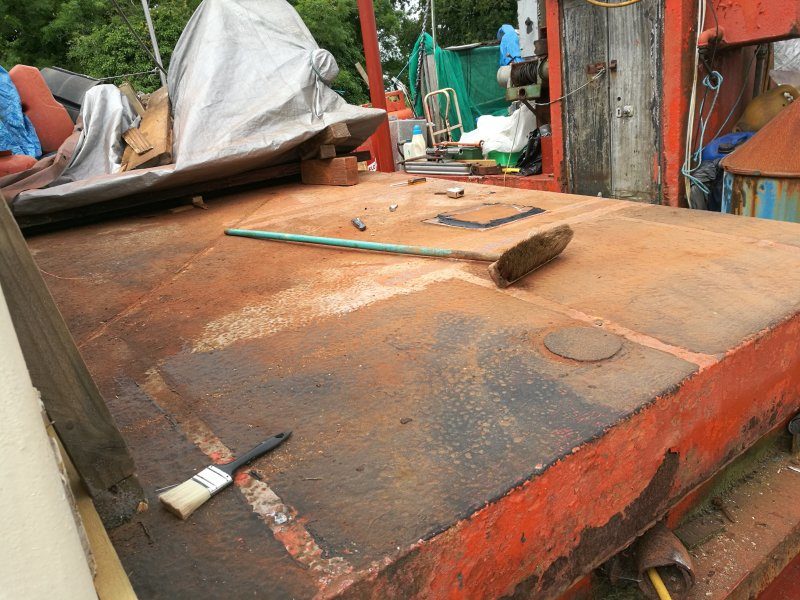
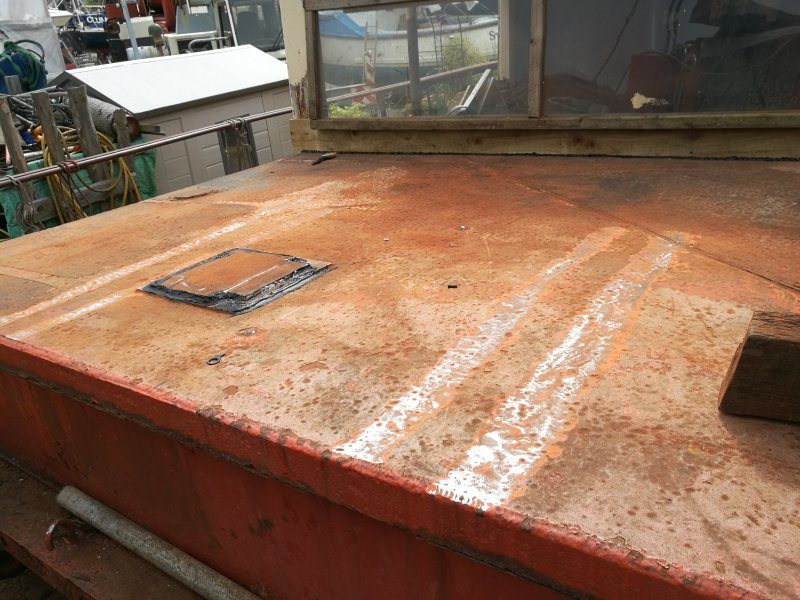
i had arranged for the boatyard to crane the hiab on, it had been stowed in its packed away position so it would stand upright on its own accord i just needed to get the orintation correct, the hiab was lifted into place,
it was time to throughly test my new super small inverter arc welder, its slightly larger than a house brick and suppose to weld upto 250 amp i had tested it on smaller jobs 10 mins here and there but welding this crane down was a massive job, however impressed is not the right word this machine welded for 8 hrs at 200amp with 3.2mm welding rods and didn’t break out in a sweat it only rested when i had a coffee break and lunch and the the welds were perfect with the carbon rolling off whilst i welded, my old welded would only have lasted 20min before cutting out anyway the haib is now stuck down and passed inspection by all to came to check and there was a few, there was a new control block with the hiab but the ports where smaller, over the next week i rehosed the hiab and fitted the control block i cobbled a hydraulic tank togeather with a suction and return lines.
The hydraulic pump i had brought when i first brought our mighty vessel, in fact i briught 2 of them they were ex hi lift fork lift truck pumps well made and strong and 36 volt but will be running this at 24 volt for now i made a battery box and installed two heavy duty batteries then aded two small solar panels and a charger to keep the batteries topped up.